40 Years of Printing
020 7384 6200
Our Work
About
Contact
Order Now
Printing
Our Bespoke Service
Photo Printing
Giclee Printing
Black & White Photo Printing
Direct to Media UV Printing
Turnaround Times
Mounting & Framing
Mounting
Picture Framing
Turnaround Times
Scanning
Students
Prices
Order Now
About Us
Contact us
020 7865 0000
Please note our new address: 1 Hurlingham Business Park, Sulivan Rd, London, SW6 3DU
Please note our new address: 1 Hurlingham Business Park, Sulivan Rd, London, SW6 3DU
FAQ
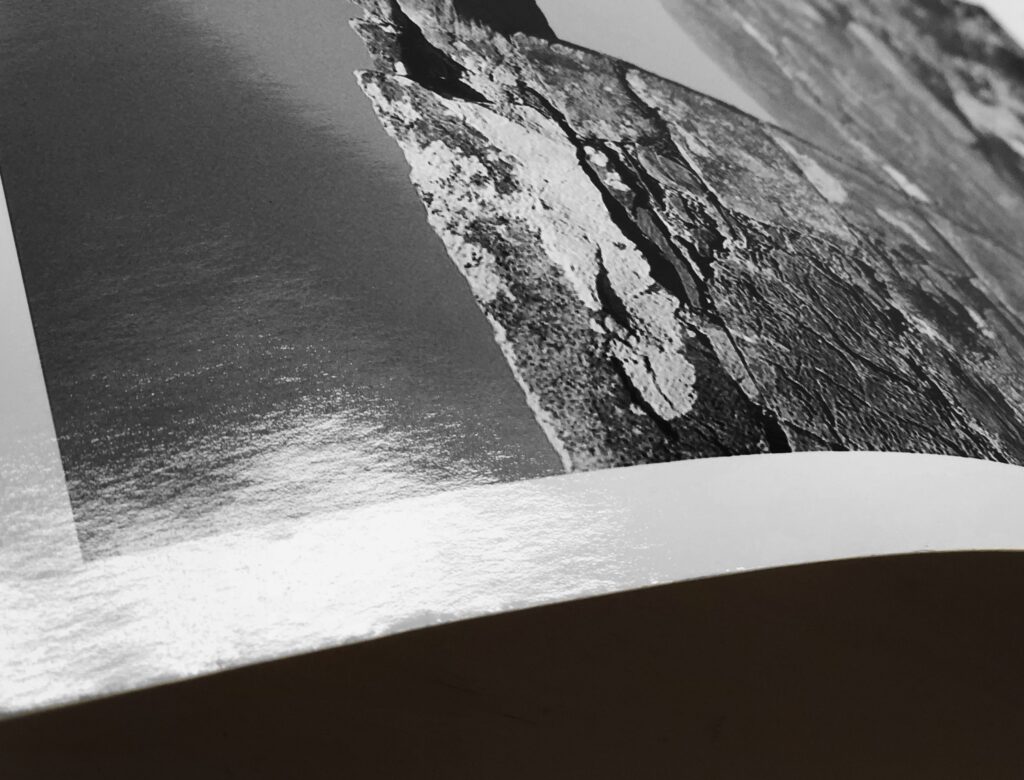
Black & White Printing: Choose the Right Paper for Your Work
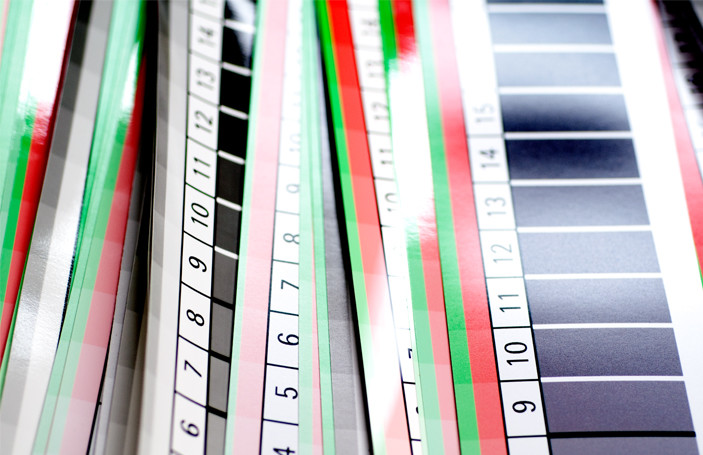
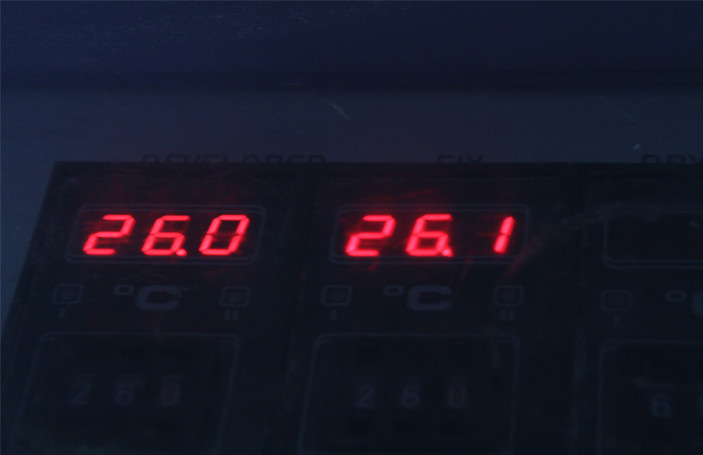
Controlling Your Physical Environment
Delivery and Return Policies
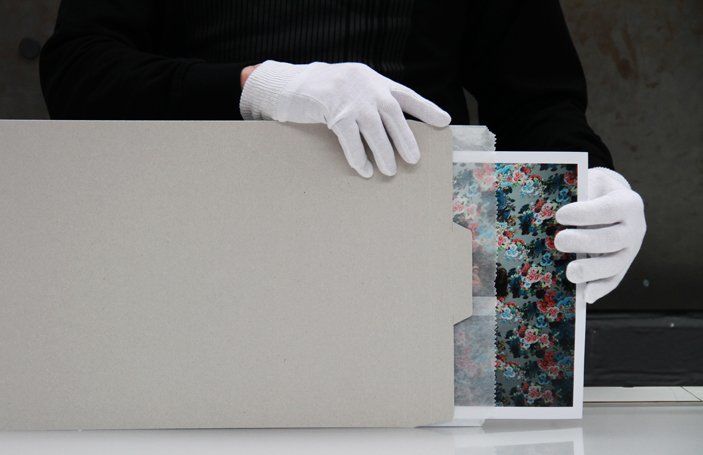
Digitising Your Analogue Archive
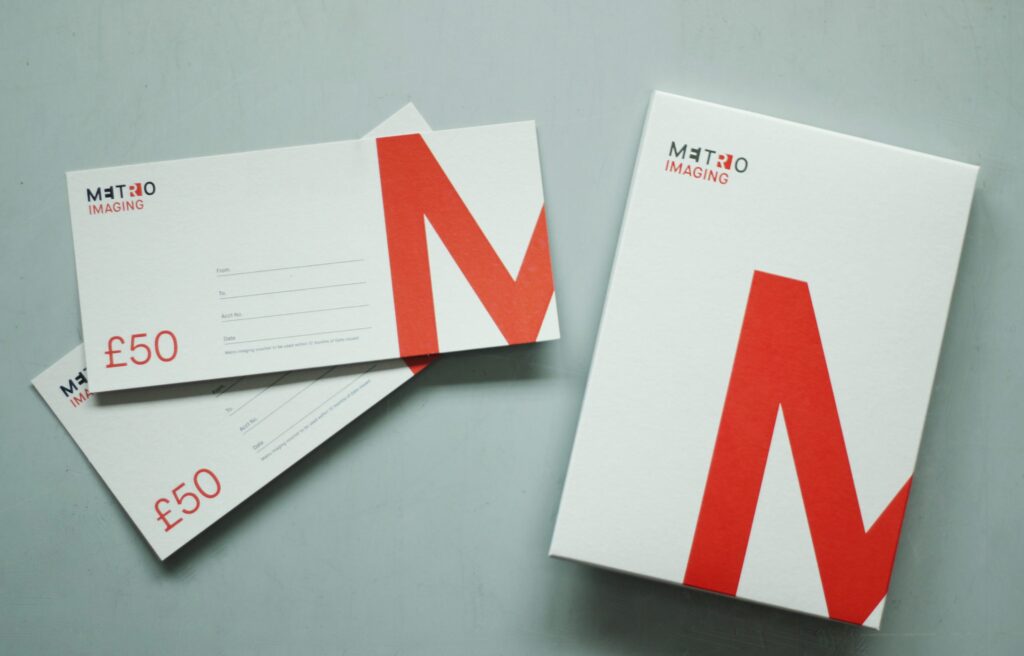
Gift Vouchers
How Long Will My Photographic Print Last?
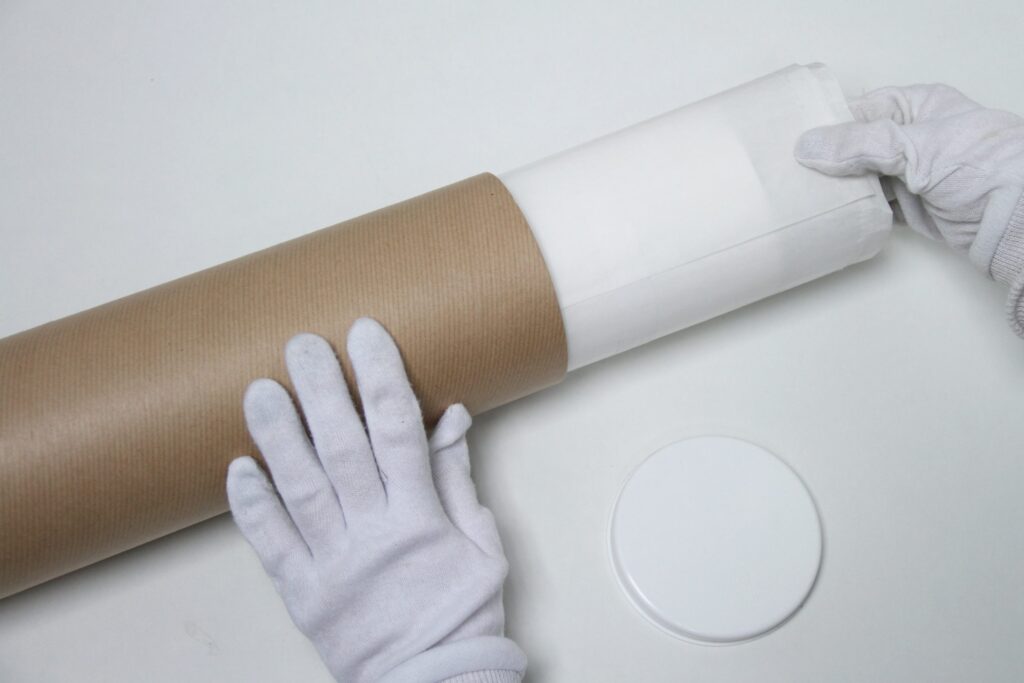
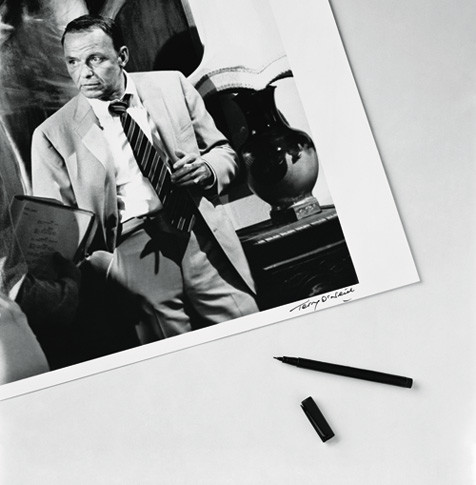
How to handle a Giclée print
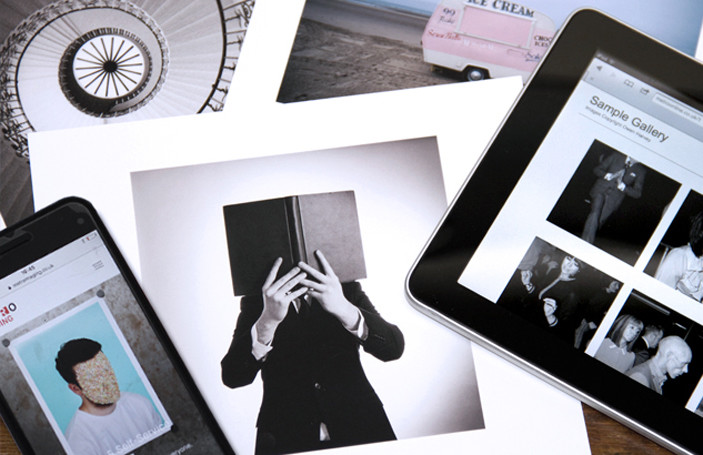
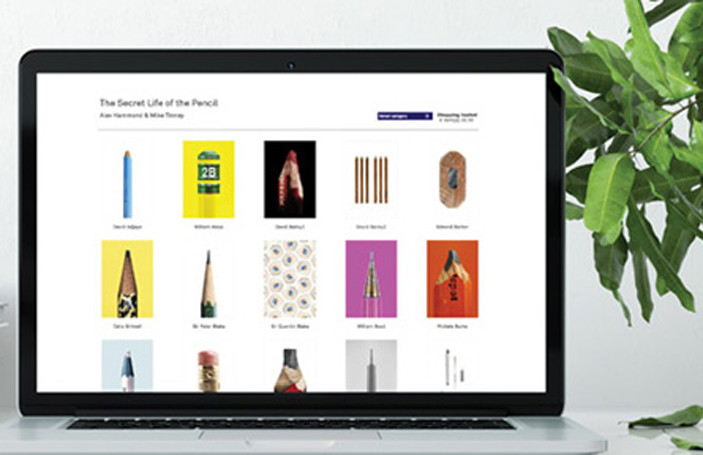
How to Sell Your Photo and Art Prints Online
Metro Online Print Sales extra info
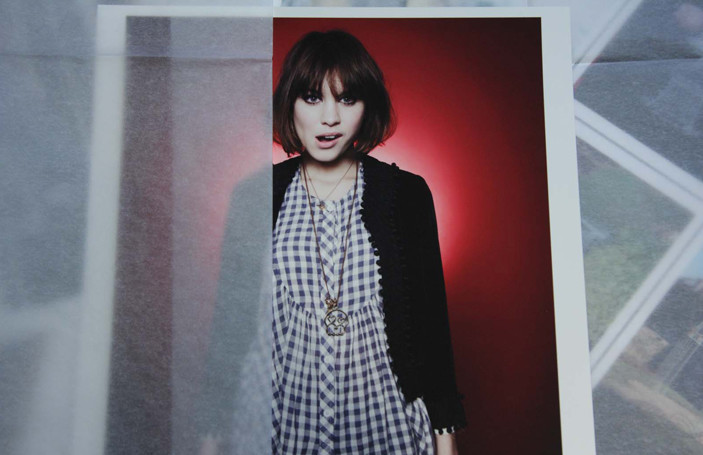
Metro’s Tips From The Experts: Framing Your Prints
Metro’s Tips From The Experts: Screen to Print
Metro’s Tips From The Experts: Deadlines!
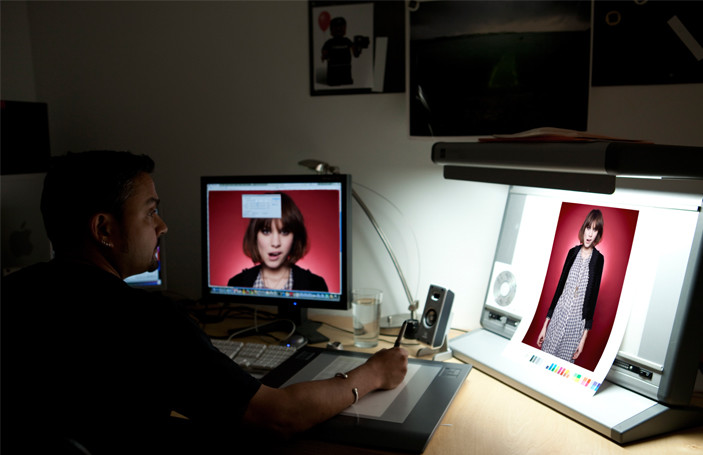
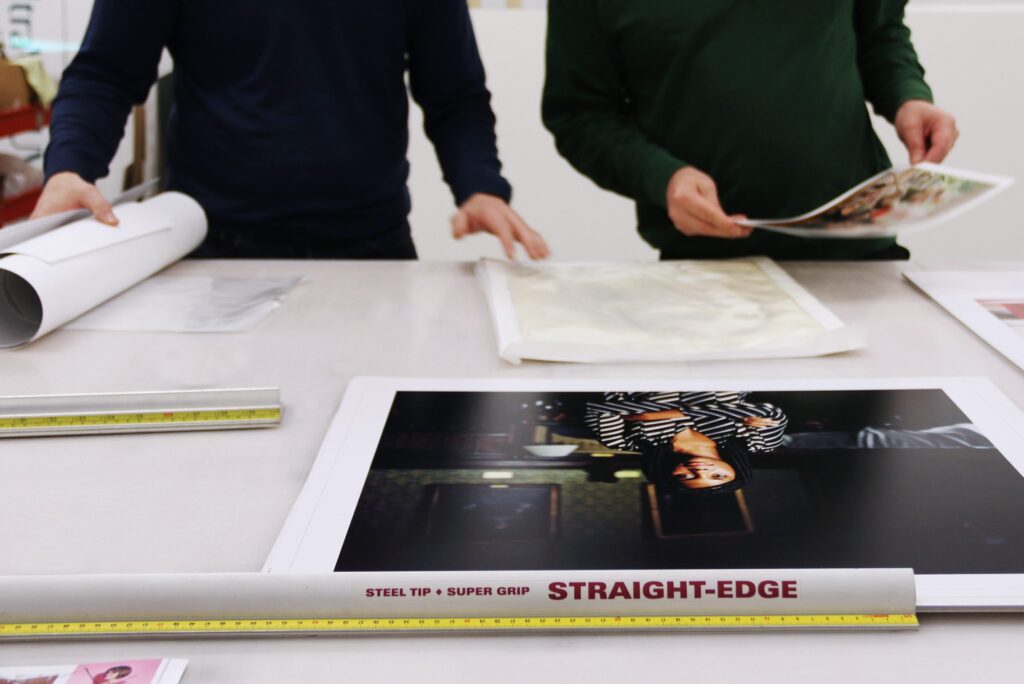
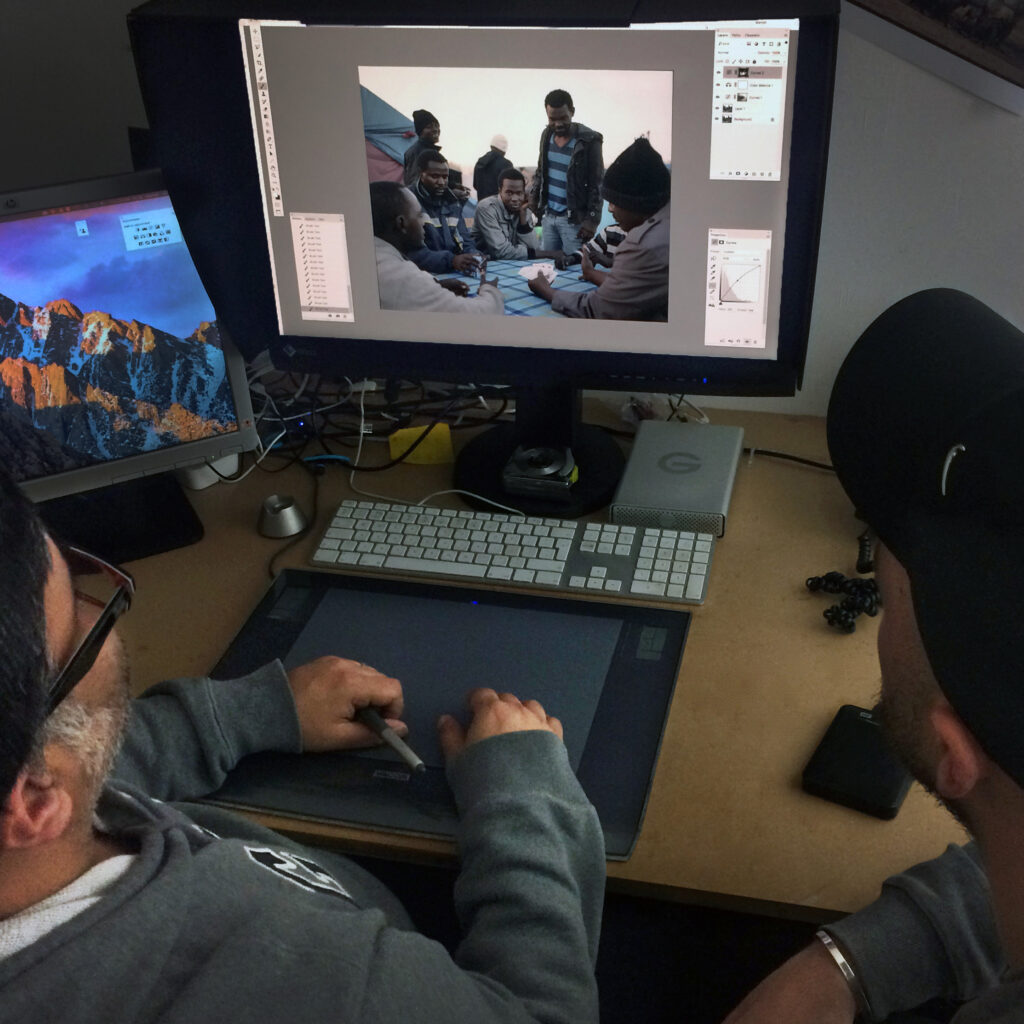
Metro’s Tips From The Experts: Printing With A Technician
Our Paper Profiles
Sub-Frame vs. Split-Battens
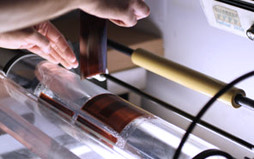
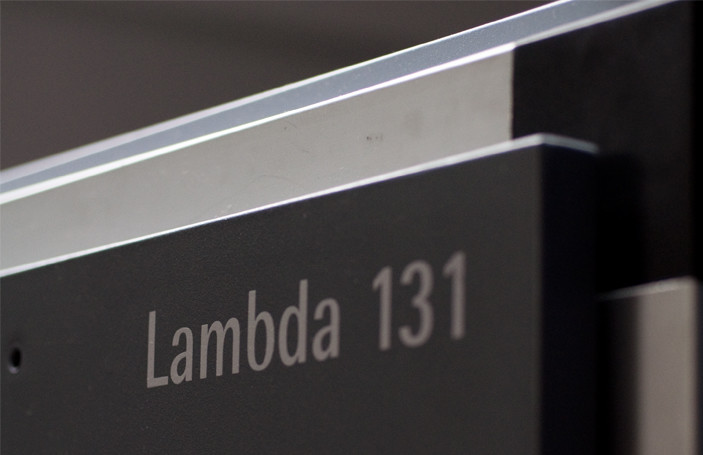
What is a Lambda printer?
What Is A Limited Edition Print?
What Is Baryta Paper?
What is colour management?
What Is Direct to Media Printing?
What Is Laser Printing?
What is the difference between Laser & LED printing?
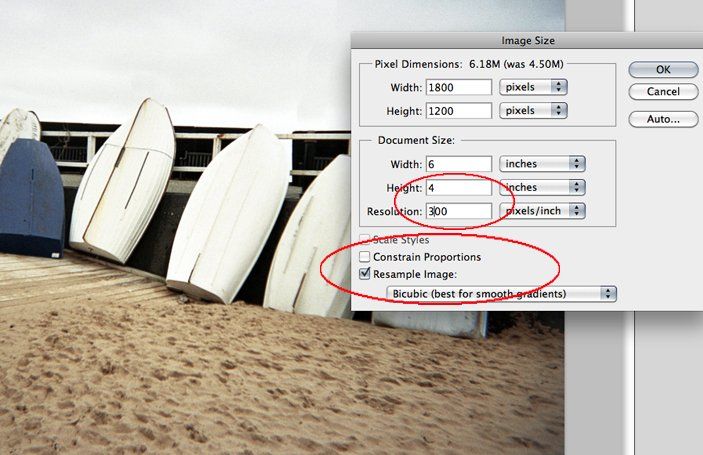
What is the image resolution for photo printing?
What type of file do I need for printing?
Which Photo Mounting Material Should I Use?
Menu