This month our Expert Tip comes from Ciaran Woolcombe, here, he shares his advice on preparing your digital files for production and how to achieve maximum quality for your prints.
Start with DPI
In printing, DPI (dots per inch) refers to the output resolution of a printer or imagesetter. At Metro, our machines run at a variety of DPIs from 200 to 400 (and some random numbers in between), we usually recommend for you to work at 300 dpi as it tends to be the best all round for art and photographic printing, then we will sort the rest!
Preparing Files for Print
The best way to get exact sizes and maintaining control over borders is to set your files up using an industry recognised image editing software. Ideally, something like Photoshop. However, there are plenty of others to choose from and should work in a fairly similar manner.
This guide will be using Photoshop, to size the same image in 3 different ways:
- – to as close to 10″ x 8″ without cropping
- – to exactly 10″ x 8″ without borders
- – to image within a 10″ x 8’’ canvas with borders
Guide 1: Image, No Border, No cropping (by pro)
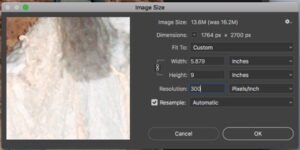
First things first, once you have your file opened, you will want to size it by going to ‘Image>image size’
This will bring up an ‘Image Size’ box – make sure you have resample ticked, the DPI set to 300, and on the longest edge type in 10. Photoshop will then do the smaller edge automatically, in this case, the closest to a 10″ x 8″ we can get without cropping would be 10″ x 6.532″. (Some images will be different shapes, depending on the format of the camera it is shot on).
Also, make sure the resolution is set to Pixels/ Inch as opposed to Pixels/ Centimetre.

Guide 2: Image, No Border, Exactly 10″ x 8″ using crop tool
Once your image is opened, you will want to select your crop tool.
A box appears in the drop down box you will want to select W x H x Resolution, this will allow you to input the exact size and print dpi that you require.
![]()
I have selected 10 x 8 at 300dpi, always double check you have selected px/in as opposed to px/cm.
You will then be able to crop the image as desired and it will save it down as the selected dimensions, you can check it has worked by going to:
Image>Image size
The file has now been cropped to exactly 10 x 8 at 300dpi.
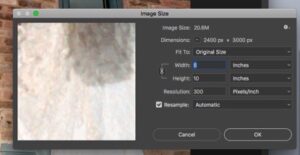
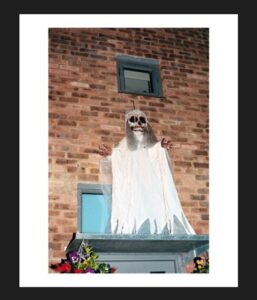
Image Set-up On A 10″x 8″ Canvas with Borders
Once the image is opened, you will want to go to:
Image>image size
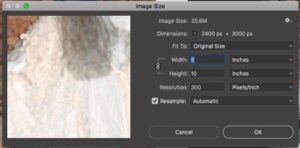
Here you will want to make your image size smaller than the desired final size, which in this example will be 10″ x 8″
This image Pros out to 9″ x 5.879’’
Hit okay and then you will want to go to:
Image> Canvas size
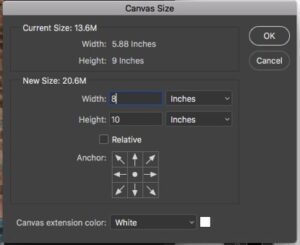
As my required final size will be 10″ x 8″ I have imputed this, hit okay and Photoshop will automatically centre the image on a 10″ x 8’’ piece of paper.
You can then check everything has gone smoothly by going back to image size:
Checking The Image Looks Good At Size
One of the key things to check is whether or not the file is holding up at the size you require, the best way to check this is using the ruler tool in Photoshop.
To make sure the rulers are turned on you will need to go to View > Rulers, and a ruler will then appear around the image, if you right click this you can then select your preferred measurement, in this case, good old-fashioned inches.
If you then zoom into the image and get the ruler to represent an inch, you are then viewing your image on screen at print size, giving you a good indication of how it’s going to turn out when printed.
![]()
Or you can zoom in to 33.3%
![]()
Out Put and Saving File
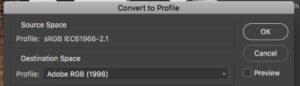
Before saving you will want to make sure your image is saved in the correct colour space, (although we have most of our c-type paper profiles available for download if you are confident in profiling), I would recommend submitting your files to us in Adobe RGB (1998) as we will profile them before they go to print.
To do this you will need to go to Edit > Convert to Profile and from the drop down box select Adobe RGB (1998)
After you have done this you will need to save your file down ideally as a .TIFF file, do this by clicking File> Save as in the format box select TIFF and hit save in your desired location.
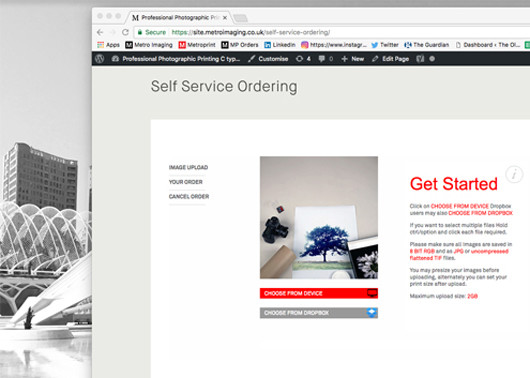
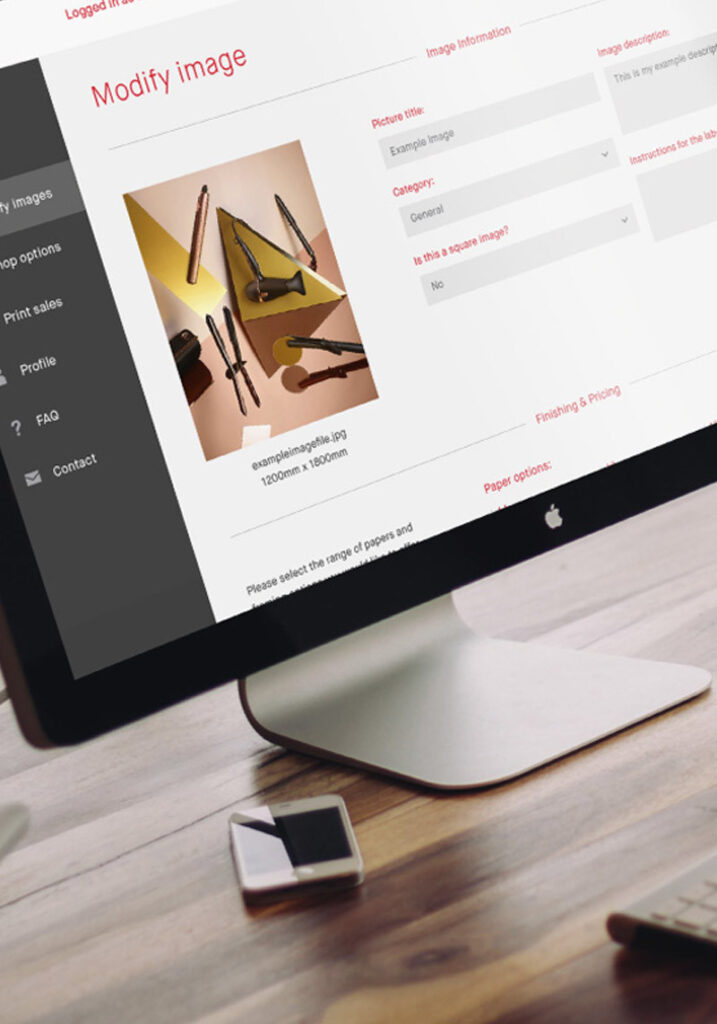
The file will now be ready for upload to our online self-service
![]()
Screen
Ideally, for the closest translation from screen to print, you will be working on a high quality calibrated monitor such as an Eizo like we use here in the lab. This is because most backlit screens do not translate well to print, this is especially the case, with super glossy retina Mac screens which tend to make everything look much brighter and way more saturated than they are –which is great for films, but not so great for printing– this can make it difficult to predict how an image will come out when printed.
If you are really unsure we do offer a Self-Service Premier Service (which is certainly a lot cheaper than a calibrated screen!). Within this level of service, our professional technicians will check your files to make sure they are looking good and will make a few adjustments if necessary, to get the best quality print as possible.
You can order via our Self-Service here